

I responded to a SAQA call for entry using this Ontario Government document as my lead in.
We received this letter last year which referenced the property in Pelham which we had lived on for 10 years, and the same township that we presently still live. I had often seen this white aster, but was not aware of its significance as an Threatened species. I was to learn more.
An update: My work has been accepted for SAQA’s Global exhibition which opens at the Sonora Desert Museum in Arizona on October 5, 2019. Here’s how it all happened:


SAQA’s (Studio Art Quilt Associates) call for entry “Connecting our Natural Worlds” had specific reference to endangered species, flora or fauna: what was the cause of its endangerment and how one might propose its preservation. In Pelham’s protected Carolinian wetland area, the white wood aster has been enabled a chance for survival due to it and its cohabiting species not being disturbed significantly. However, a nearby housing development has eliminated a large portion of the former 75 acres surrounding the wetland itself. Human and animal presence in the area, therefore leaves more vulnerability for this endangered species to be trampled, sprayed with noxious weed chemicals, invasion of domestic and non native species and for the plants to dry up during extremely hot and dry summers, which we are experiencing more frequently.
I was able to photograph at the woodland property in the late summer just at the height of the Wood Aster’s flowering cycle. In my mind, the series of wind turbines that I had photographed in our area earlier in the year, seemed to enter my mind; their propellers mimicking nature to scoop and disperse air. Furthermore, we had just had a conservative government elected in Ontario and the issue of environmental preservation coupled with discussions on developing more of the Southern Ontario Greenbelt, was now in question.


For both White Wood Aster and Wind Turbine, a symbiotic relationship formed a “storyline” in my mind. How would it play out if one assisted the other to disperse seed heads far and wide? I prepared some uploads for printing with the thought in mind that I would be piecing this composition. The exact process would evolve as I problem solved each step. This series of wind turbine photos is actually one turbine taken lying on the ground from front and back of the structure. I liked the positive vs negative element to my choice. Problem one was that the sky is either lit from front or back, and my composition needed a consistent sky. I formatted the turbines separately to the background and visual components, each on a yard of quilting cotton. The designs were sent to DesignYourFabric.ca for printing. I was thrilled with the results.


Some months lapsed between ordering and starting the project. This was the incubation period where my methods were still being mulled over. I began shortly after Christmas when all was cleared and my mind able to grasp the project. In the above images, I have stitched around and cut away the turbines leaving a small selvage. I decided they would need a backing of their own. Quilt backing was cut to the stitch line and fabric glue used to secure each piece to its back. I tested the fabric first to ensure that the glue did not seep through.
I played with the composition of the three turbines to get the illusion of distance and a background for the wood asters.
I realized I had forgotten something important. I hadn’t backed my main piece with cotton quilt backing. Fortunately, not too late. I secured that with pins and would leave the tacking until later – and started in to the turbines. It worked.


Once satisfied (can that ever be a “for sure” decision) that I had placed the turbines correctly, I began the appliqué stitching – this is actually the part that’s least like work for me, as there’s no real decision making. It’s purely mechanical. I had to think through the tiny points of the turbines and decided to try stitching the selvage together first before the
appliqué process itself. I will come back to cover some of the stitches later on with various pigmentation – if they bother me. I know stitching is part of the process and some like to see it, but that’s part of this decision making process as well. I want the turbines to float off the surface.


I was now ready to tackle the white wood aster – both exciting and daunting! I fused a stabilizer cotton interfacing and added a quilt backing with another layer of interfacing to prevent the machine from ripping up the quilt backing – which had happened when I created the lichens for the Beausoleil Saracen project in 2016. This time it was easy using my sewing machine to create a cutting outline around the various components of the woodland flora. I used every piece possible!
In the final composition, I wanted to show not only the aster itself, but other plants growing symbiotically along with it. I found even the tiny yellow chains of what might be goldenrod, and the leaflets of the the Virginia creeper. I know all grew in our Carolinian backyard. My task was now to connect the turbine structures to the florets through the air turbulence that their propellers might create. There was a degree of thought behind the placement; however, the end result looked somewhat contrived and simplistic. Although simplicity is something that an artist strives for, there is also a degree of depth as well – this was now my next step. At this point I also decided to give the white tower a more metalic glow with oil pastel which was then “fixed” with a layer of water. This process dissolves to some extent, the pigment, which allows it to penetrate the fibres.


I wanted to solve this problem of preservation. Yes, the wetlands themselves needed protection, but the dispersal of seed offered yet another solution. What if the turbines could scoop up the flower heads along with their seeds and scatter them far and wide? SILK! This was my go to solution.
Not only do I have natural silk in a variety of shades, but I have dyed silk noil in yellow and pink – colours that the photography had picked up. I added more to represent the pollen and seed being dispersed by the wind turbine currents. Each section was held in place with tiny French knots. I also took my white aquarelle pencil to the borders of the more distant plants to fade them out into the distance. Although somewhat satisfied that the work was moving ahead – albeit very slow – in the right direction, it wasn’t producing enough of the effect that I imagined.


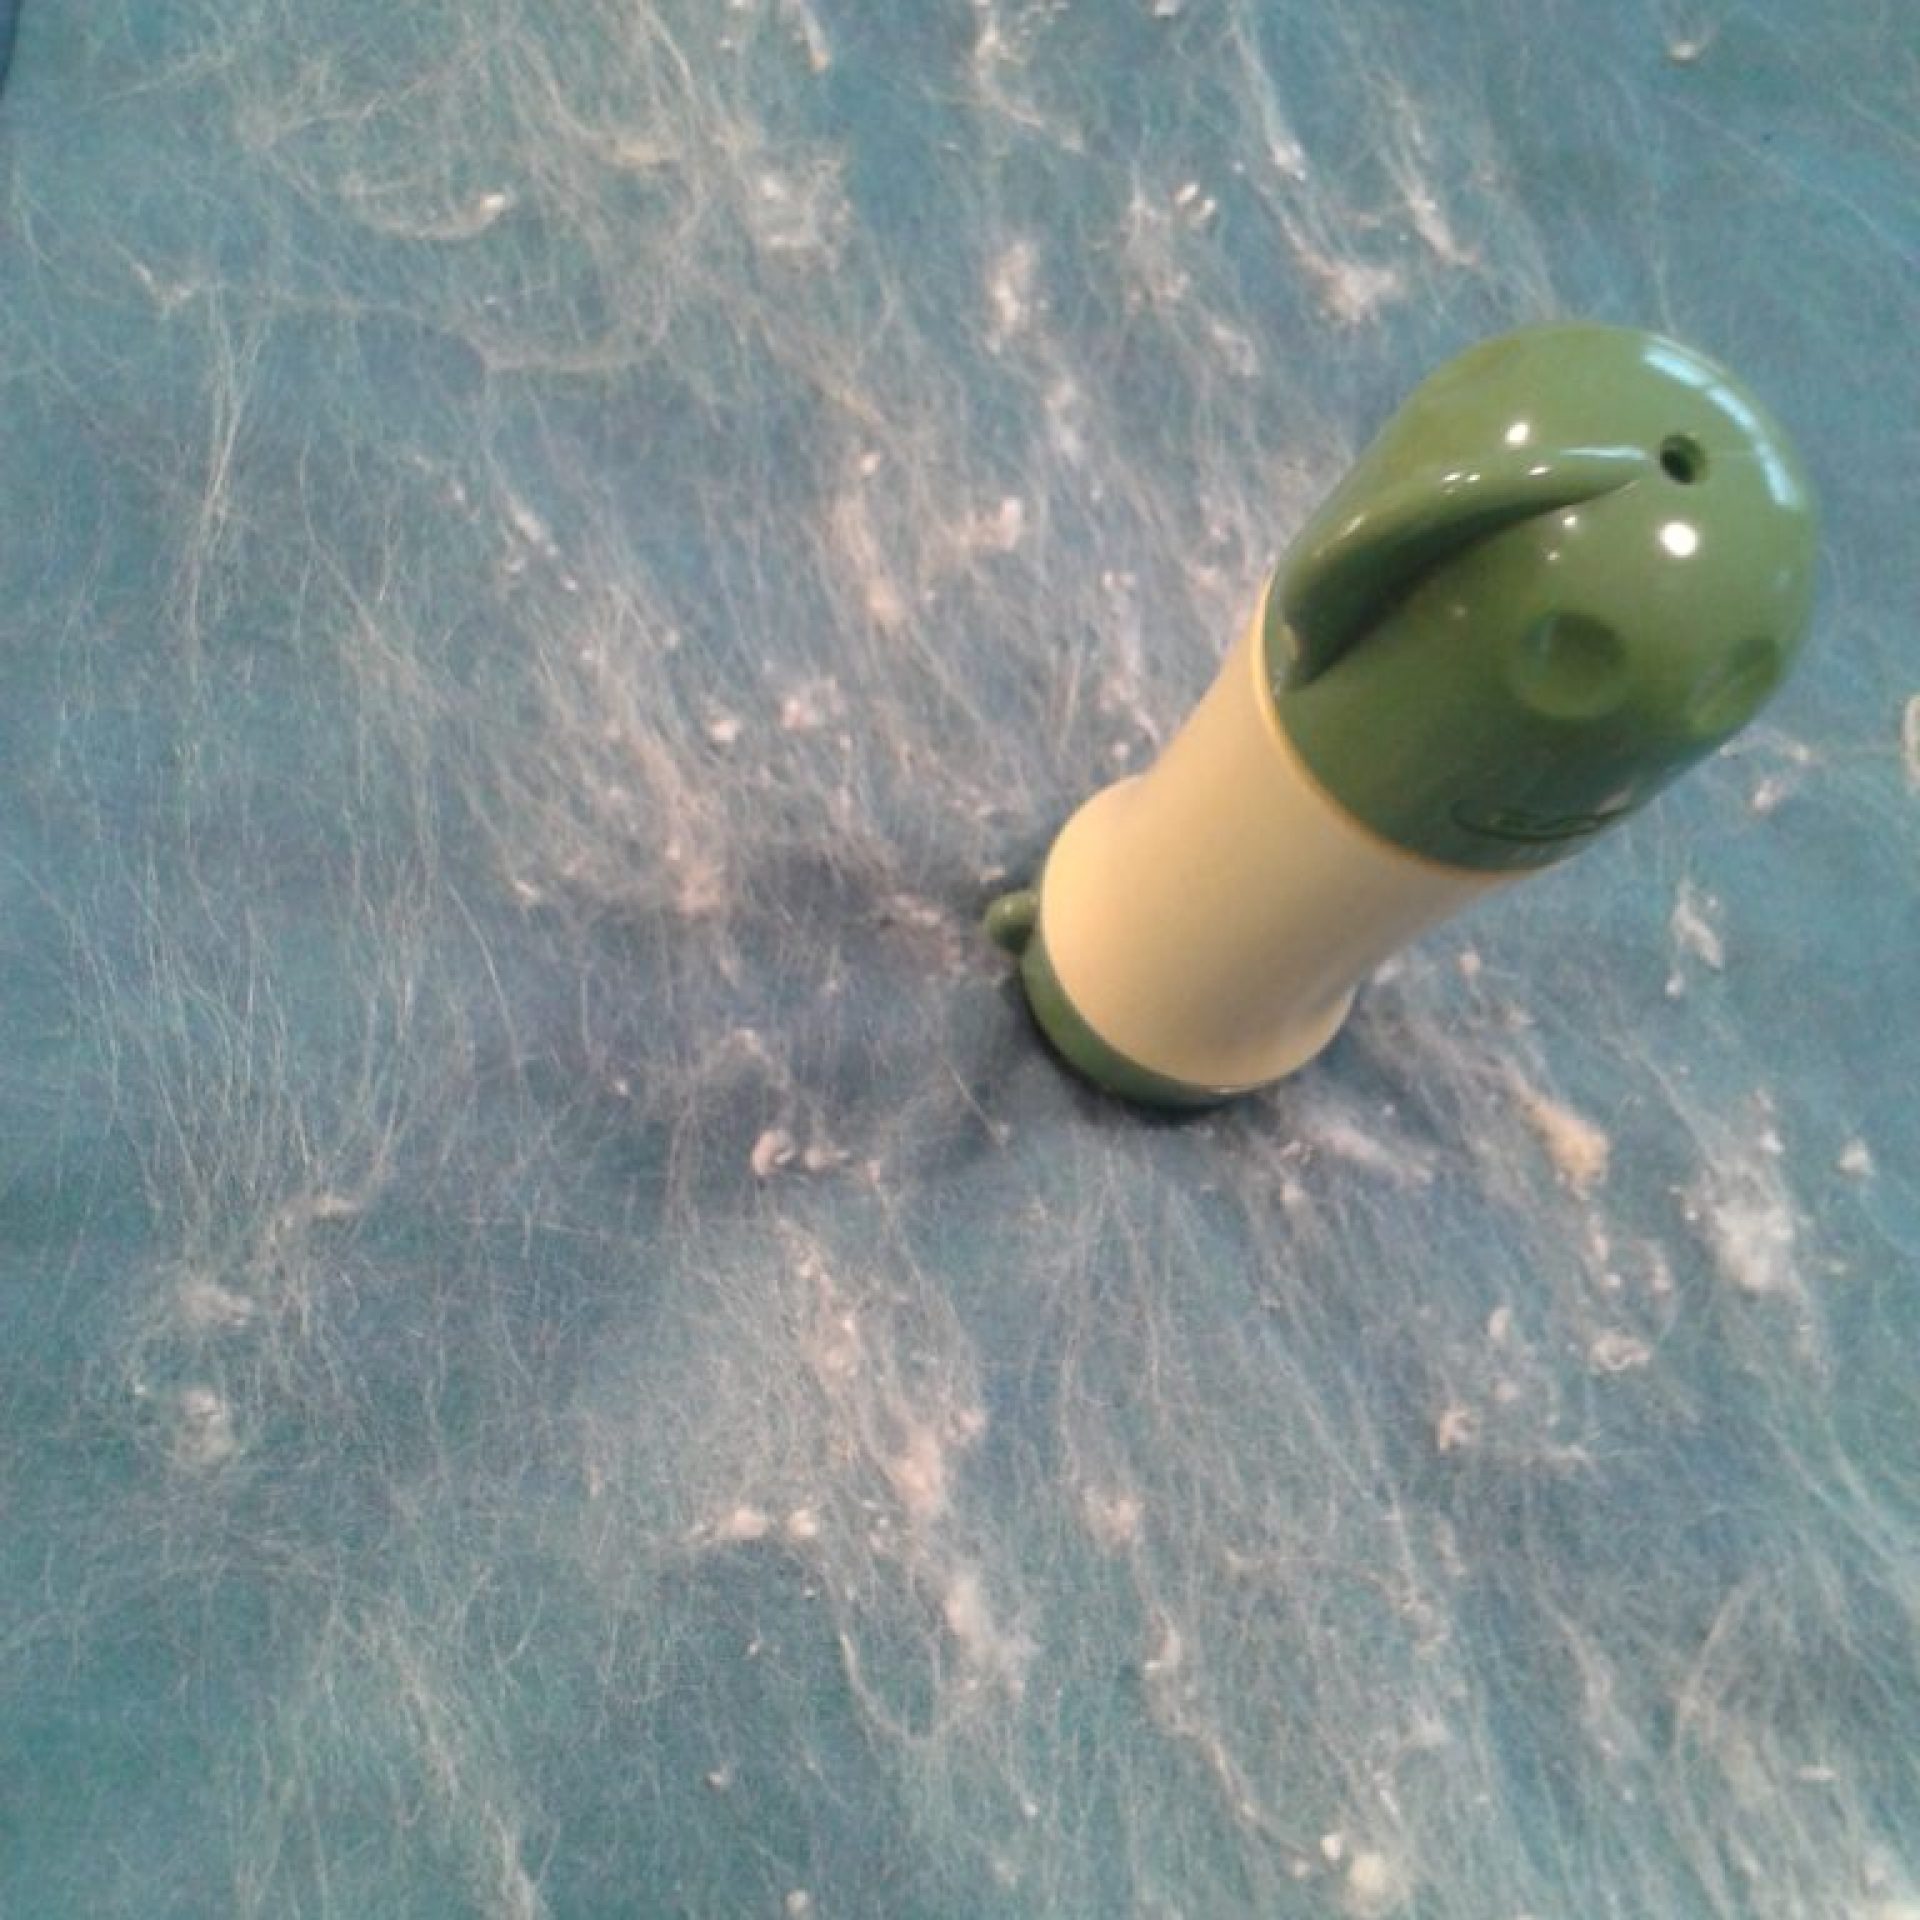
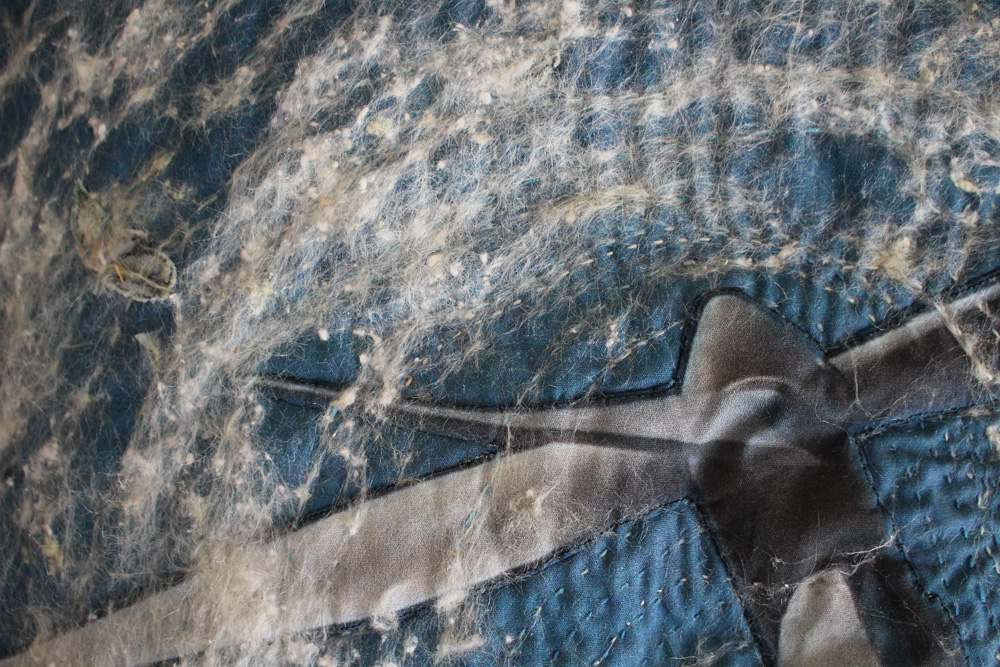
I decided to card some silk mix with cultivated (straight fibre) and noil (nubbly stuff) and just apply to the surface to see what the result would look like. Yes, much more effective. Now, it had to stick there. I mixed a weak solution of wallpaper size and sprayed it over the surface and let dry. Okay result but much too flat. More French knots which anchored the fibres so that I could fluff them up in the wind direction – two days worth in fact, but still not enough. It needed more silk! In a hurry to get this layer to “stick” I took my multi-headed (five needles) needle felting tool and decided to give it a try. Voila! It was like magic. Because I have an underlayer (actually 2 now as I have stabilized the towers) of cotton batting, the silk had something to grab and cling to. It still needed something to really hold this layer permanently and to strengthen that feeling of wind currents.


I had worked up some sample images of the wind turbines months ago when I first started this series. I used some basic stitches – large – to emulate the wind currents. I had been thinking about doing this again, only on a large scale to cover the background and foreground of this piece; currents divided and influenced by the three large structures, dispersing the seeds. The propellers of each worked together in a symbiotic relationship. Okay then, this was what I needed to do to make this piece more cohesive. It would be quite an undertaking though.
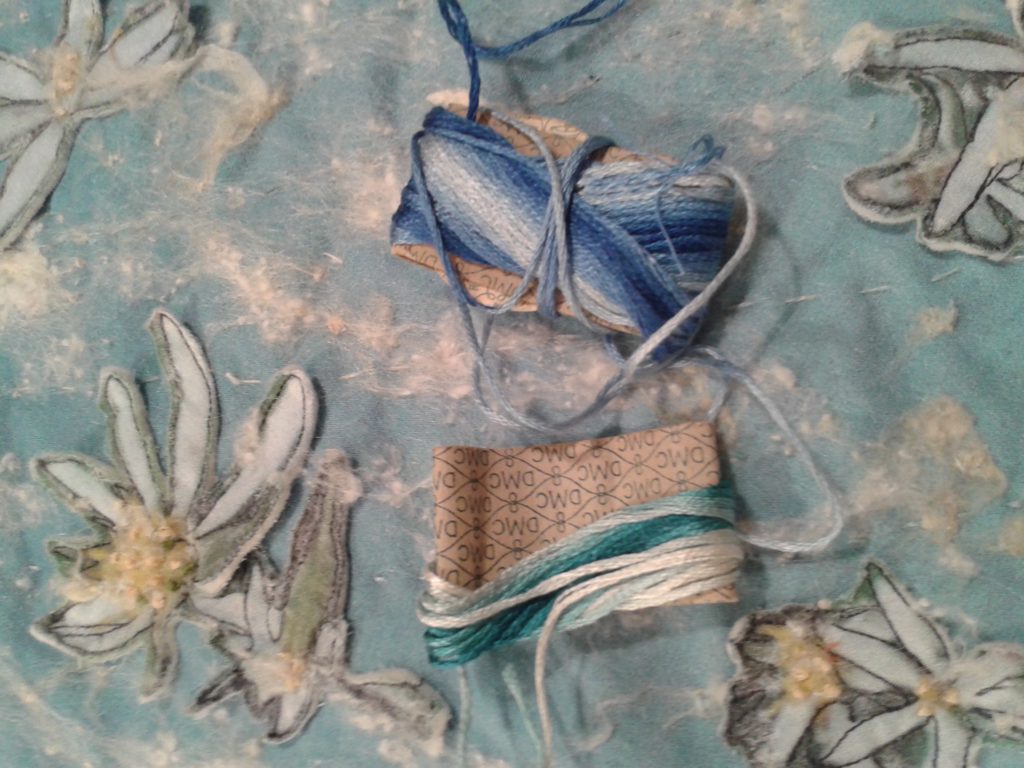
Before I could start however, I had to neaten the edges of the work, which I did using leftover pieces that I had cut away from the original wind turbine prints. I sketched out a small version of the currents for a rough guide, found some of my vintage embroidery floss that would pick up on the sky variation and allow a “background” and “foreground” to the wind currents. I didn’t even want to guess at how much time this would take, but all the same, I was excited to know that I was going in a better direction.
A few lines multiplied into many until I was looking at what belonged in front of and behind the propellers and turbine columns themselves. I worked 10 or more hours some days and that didn’t come without the occupational hazard of punctured fingers. I use a thimble, even one of the new silicone inventions, when I have to push though a thick layer, but cannot sew continuously with them. Thank goodness that my months of physiotherapy manipulation and strengthening to help with neck and shoulder pain have helped. I may not have been able to continue with this type of work if not. I have only to overcome my allergy to raw silk fibre! It’s a love – hate relationship, more love than the other thank goodness.


At the same time I broke this laborious although mesmerising task by embellishing the florets with French knot seed-heads and also decided to embroider with satin stitch the name of the White Wood Aster and its Latin name, Eurybia divaricate. Interestingly, my Ontario Wildflower guide features a species called the Large Leaved Aster (Eurybia macrophylla) also found in woodlands and forests of Southern Ontario, but is likely a slightly different genus. I used greens which I hoped would tie the foreground plants to the top of the work – I think it worked but had to tone down and enhance the colours a little to work.


On the home stretch now with entry details to get in place. The moment actually did arrive when I knew I had placed my last stitch. I photographed on the 28th of January and put my statement and other entry details together. I always like to do this ahead to allow time for it to sit, and time to reread and revise – can’t stress this process enough. I also found my title. See this information below and scroll right to the end to see the submission images of the finished quilt and details.
Turbulence: White Wood Aster (Eurybia divaricate)
In 2018, both Federal and Ontario Govt.’s requested input on the Threatened White Wood Aster growing in the Carolinian, wetland forests of Pelham, Niagara. Together with our backyard wind turbines, both formed a symbiosis especially critical in light of the newly elected, Ontario Conservative Government jeopardizing the environmental preservation measures of the Niagara greenbelt.
In our wetlands, the White Wood Aster survives with cohabiting species. However, a housing development has recently assumed a large portion of the 75 acre wetland. The activity of human and domestic animals exposes this threatened species to trampling, herbicides, invasion of non-native species and with decreasing habitat, to insufficient moisture during increasingly dry summers – all the basis of a call to action. For both Aster and Turbine, a symbiotic relationship formed a creative “storyline.” What if the propellers of each dispersed seeds far and wide? ghildebrandartstudio.com blogspot tells the story.
Materials: Quilting cotton top with cotton stabilizer and quilt backing, embroidery floss, cultivated silk and silk noil fibre, aquarelle pencil
Techniques: Digital photography, machine stitched edges, hand appliqued, needle felted silk fibre, Kantha hand-stitched wind patterns, embroidered seed heads and species names, aquarelle.


Today’s update: After the thrilling news that my work was chosen as only one of two Canadian entries for the Global exhibition (around 40 in all) at the Sonora Desert Museum in Arizona, I have read through the instructions to complete the backing to SAQA’s requirements, packed the work to their specifications and am ready mail it.
Greta, I love seeing photos of your process! Inspiring.