A new 60 x 45 inch felted work inspired from one of my previous series. Early summer update: this work has sold and now has a home in Algonquin Park. Its owners were inspired by their own backyard view and memories of childhood.

Inspiration: This smallish needle felted work from my exhibition “Along the Way” became the inspiration for a more “open” and interactive work. In order to offer a real experience to the viewer, the image would have to be “life size” in order effect a feeling of walking through the wildflowers and grasses, into a field.
If looking for deeper significance to this image, and others of this series, we have only to look at the Green Belt of Niagara and the politics behind its continual erosion. If pressed for my own reasons, I would say that my work aims to highlight the often passed by. There is beauty along the way if we wish to take a deeper look. I will explore more as this work progresses.
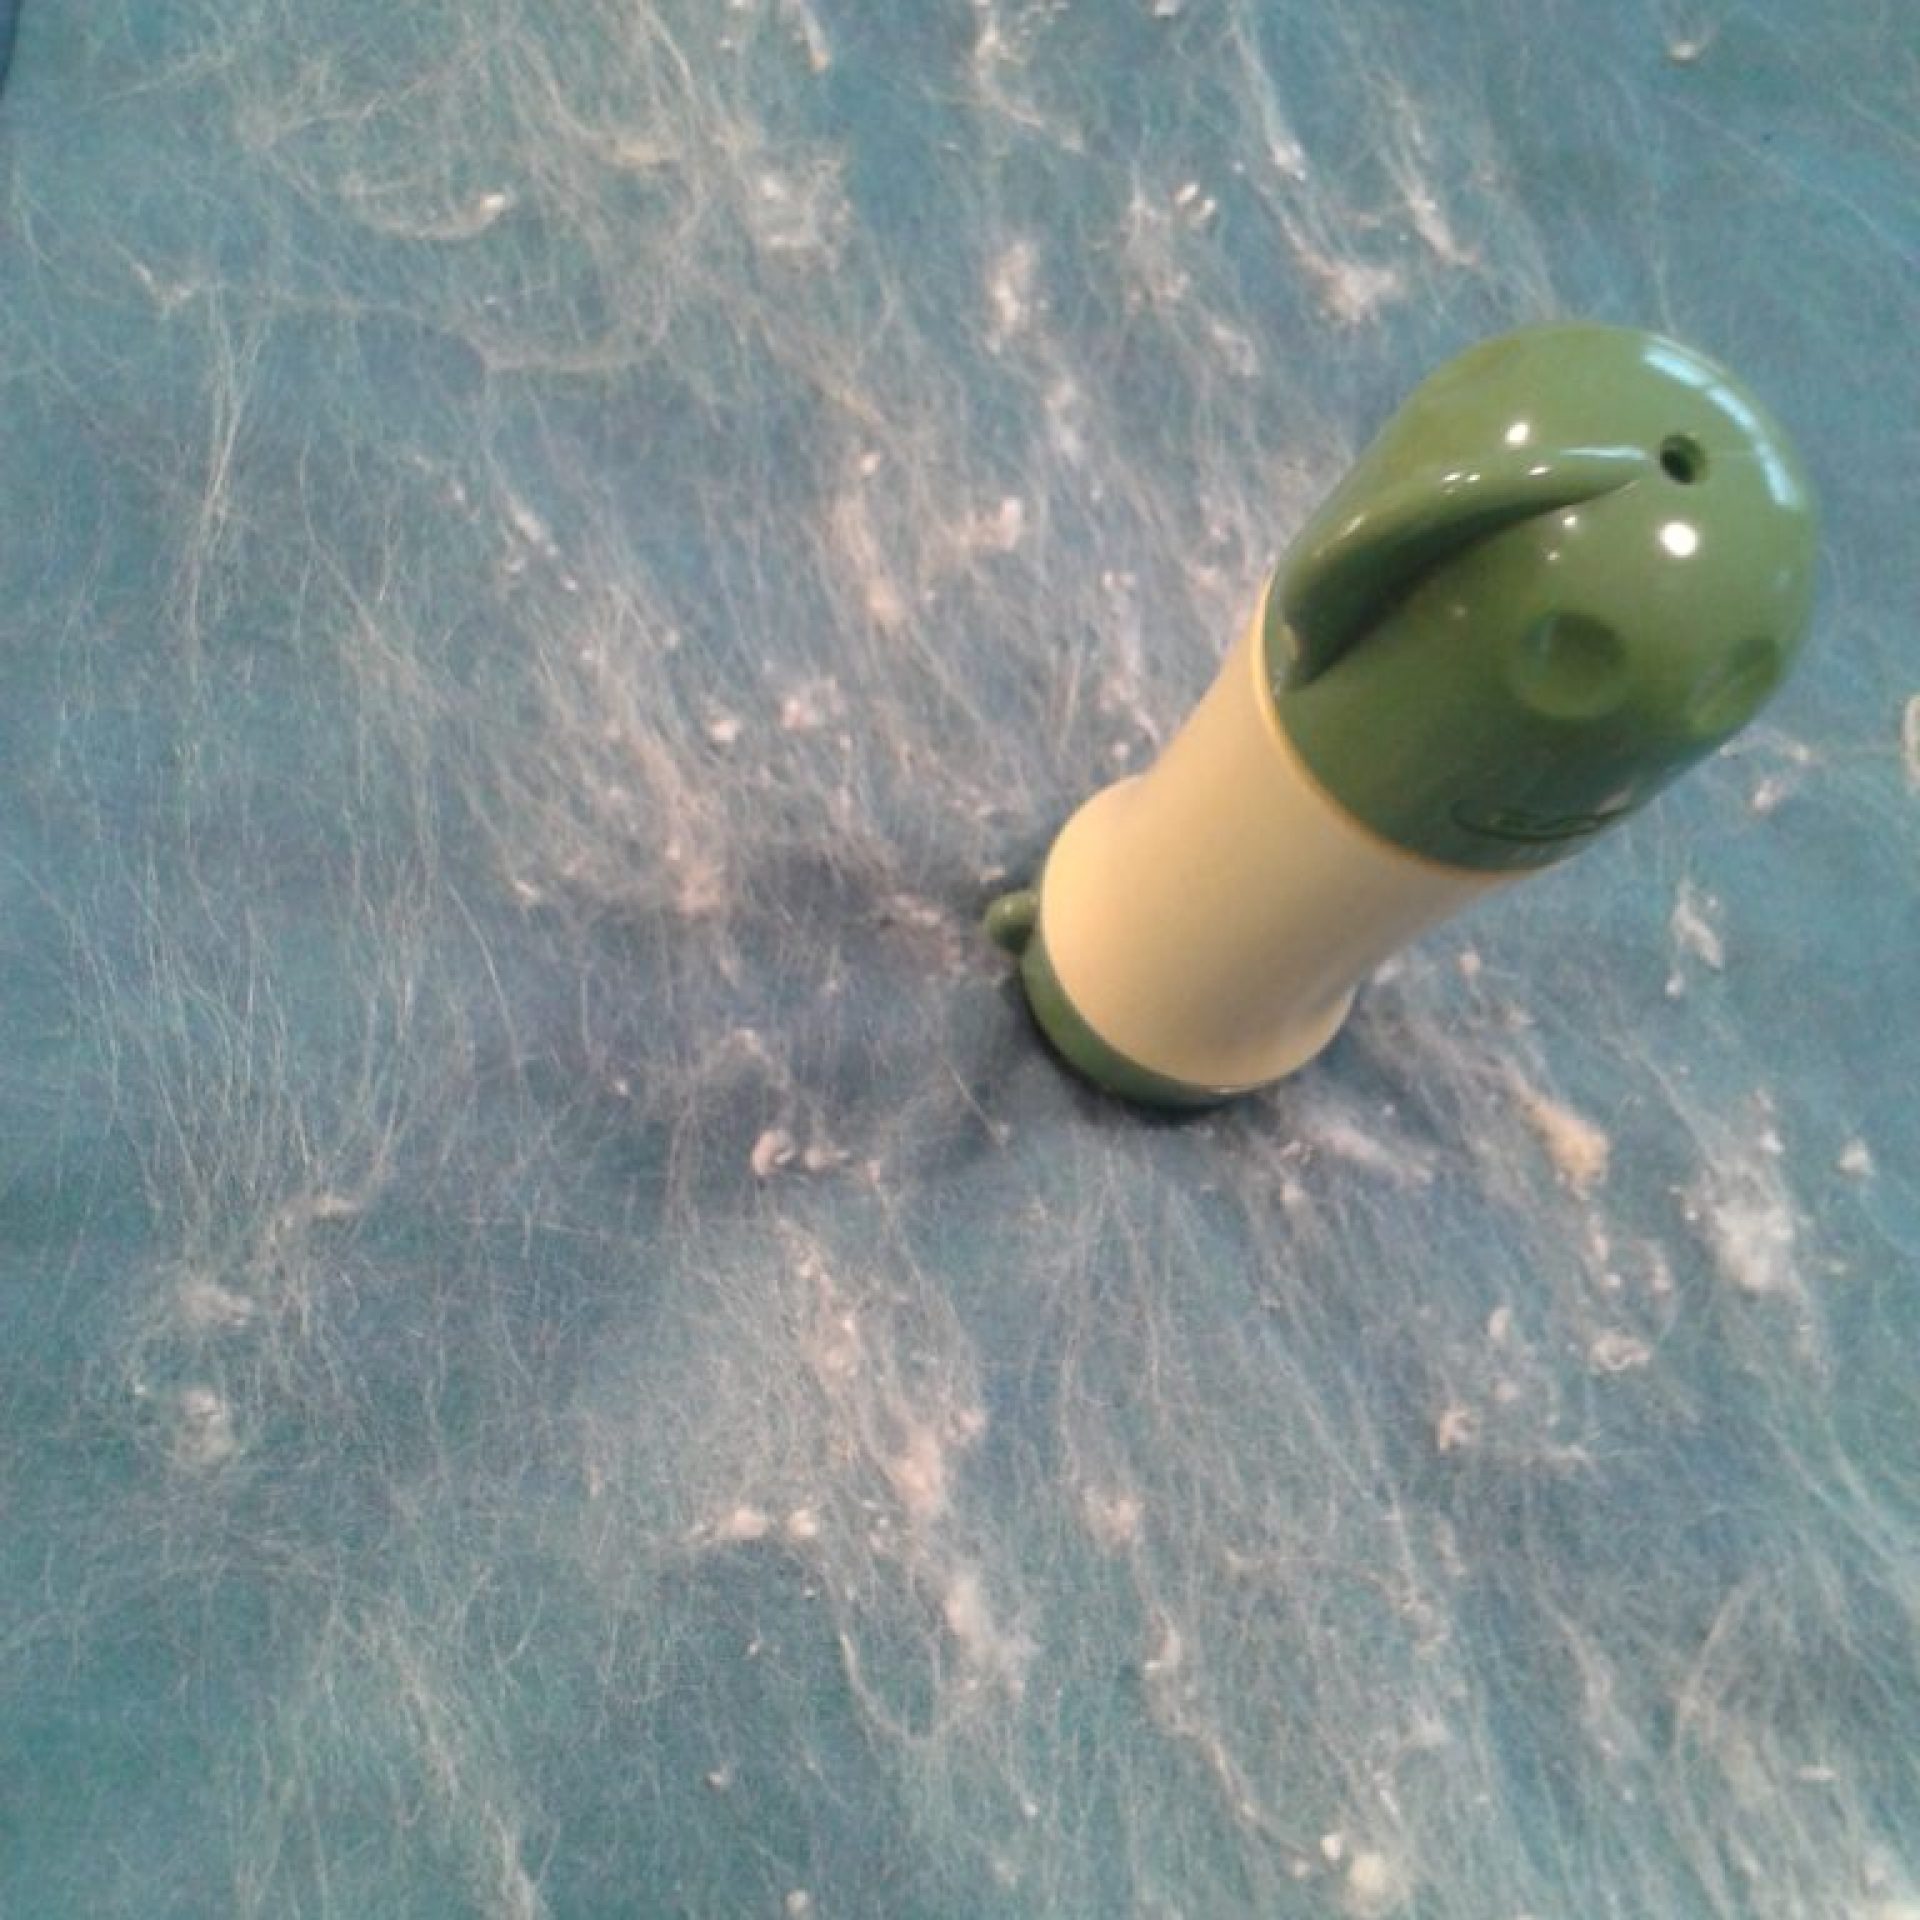
Improvising: After weeks looking for a reusable underfelt, I resorting to cutting into my supply of wool batting. I measured and cut a piece that would lay vertically 60 inches x 45 inches, which would hopefully comply with any future calls for entry – a few of which are back of mind. My challenge here is rearranging the small studio space to accommodate two, 6-foot folding tables. And, finding a large resilient covering to take up the needle piercing. I repurposed the foam insulation boards made up for photography (these enable me to suspend large quilts vertically, using sewing pins to hold in place). The resilient underlay worked with a single felting needle, but once I switched to the 5-in-one, not so well. I gathered up all my sponge pieces – you can see the corner of one in the first image. These can be easily re-positioned as needed.
A found treasure: I did find something “reusable” that I hope will be an essential feature of this work. Over 40 years ago I made a handspun and knitted lace shawl for my mother-in-law, Mary. She passed away about 12 years ago and the shawl has been in my cedar chest ever since. Somehow, the moths had found it, but no matter if I can now repurpose as a part of this new work. It’s place has not been found yet.

Groundwork: Moving on to the composition, based on the feature image of wildflowers at the edge of Point Abino Road, I needed to lay out sky, background and mid to foreground. My aim is to have the viewer feel as if he/she is walking into the field beyond; therefore, the horizon line would need to sit at about eye level if the work were hung about 12 inches off the floor. Fibres are laid out in the direction of their natural “gesture” or movement.


It’s always a feeling of accomplishment to see the first “draft” in place. It gives you a roadmap from which to navigate. If I were painting this scene, I would lay the paint onto the surface in a frenzy of energy and movement, trying to capture the direction in which clouds float by, trees in the distance form a background against the horizon and the fields, too far for visible detail and only movement. The foreground weeds are the essentials of this work and will need vertical height with movement from wind and rain, and the viewer pushing his or her way into the scene. All a real challenge for the artist! Take out the biggest brush if you’re painting; use raw wool, and large needles if you’re a needle felting.
Moving beyond: My next day on the project allowed me to begin filling in – enriching, providing depth, texture and light. I like to work from the original image at this stage and have found that my old laptop is an invaluable tool. I bought a “mouse” to enable me to scroll in and enlarge any portion that I need to see in detail.
It’s almost like an indulgence once you get to this point: laying in more fibres, and here’s where I switch to my various silk fibres and sometimes incorporating white viscose into the sky to build cloud formation and movement. I find this a smoother “mixing” fibre than cultivated silk. My rough tussah silk is invaluable for the textures of trees and shrubbery. For the distant fields I like to work horizontally giving the illusion of various grasses and cut crops. I use the single “spiral” needle to “tack” the fibres in place, then use one of my multi needled tools to really compact the fibres latching them securely through the wool base.


Challenges: I am getting excited about the work and its coming to life. The next step will be to create the “illusion.” At this point it’s really a process of trial and error. I’ll have to search through my original photographs to find something more accurate than my memory, when it comes to the actual pathway in.
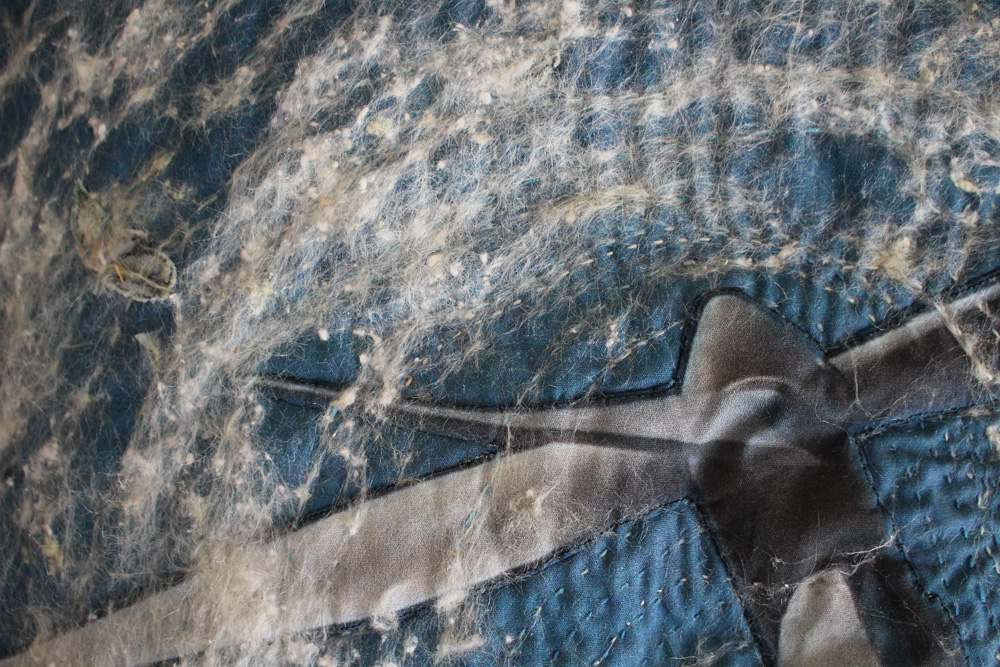
Cheating: My bin of leftover colour and fibre mixes is invaluable for creating backgrounds. There are wool, various silks and even some plant fibres like linen tow in this mix. Little hints of colour provide the illusion of plants in the distance and beneath shrouded layers of plant material. I use the carded bats to overlay the wool-base composition. The far background fields show in the second two images, as well as the tree-line and sky with its cloud formations.
Evening work: I have been working with the shawl, mentioned earlier. My evening work was to unpick the hundreds of tassels that were not only handspun yarn, but cut and looped around the 45 x 45 inch border. Forty years helps to distance you from the work. I’m still looking at how the actual knitted fabric will be used. It can’t be just a shroud, as it would cover too much of the background detail and become a predominant feature – not at all what I want in this work. For now though, I’ve been laying in and tacking the individual strands to create the background grasses. Each row has a subtle shading at the base – the shadow lines.


Here I am about 10 days into the project. I retrieved some of my old handspun and naturally dyed yarns, skeined and washed them to ensure no moths would come with the project. These yarns are invaluable for stems, many of which will have to be created in this work. Thistles are the predominant plant in this image – various species from the giant thistles, the tall yellow sowthistle to the small plumeless thistles with their purple tufts, that we easily recognize. Purple knapweed and Queen Anne’s lace will also occupy a space in the foreground tapestry of colour.
Here’s the moment: I’m now cutting into the shawl. It’s okay, I don’t have any regrets and just have to trust that the lacey pattern will suggest where the cuts should go. Yes, prickly leaves and stems of thistles. I’m liking the way it works, but there will have to be more subtlety if they are to blend in with the silk fibres – it will happen. Just be confident. The opening into the field will also need lots of work to soften and to create the feeling of pushing back the grasses and plants on either side. More shadowing too. I like to leave my studio each day with a plan for what needs to be done tomorrow.


Reviewing: A winter walk is what I need to do now. Just a refresher, even though what I see now won’t exactly match, but who knows what I’ll see. It’s been so drab over the last weeks that a walk into the Shagbark meadow will be just the thing. I also need to get a better feeling for the pathway parting in the work.


Comparisons: I’m surprised at how much the summer image is similar to the winter views, especially with the use of the white wool shawl fabric. In my work for Colour with a U, still to be exhibited in Toronto at Campbell House this April, I combine summer sumac beneath winter hydrangea branches, allowing cutout sections to become windows to the bright colours beneath. I remind myself that the artist does have the license to create the surreal. I’m not sure that this will be the direction my Into the Field work will take, but I’m letting it guide or speak for itself. I’m continuing my journey.


Adding more depth: Now that I have some basic groundwork in place, I can begin to think about the illusion of depth using shadows and highlights. First though, the distant plants need leaves. I have found that pulling tufts off prefelted pieces, sometimes consisting of a wool base with silk top (Chris calls these nuno felts and they are wonderful in that the silk shrinks and puckers at a different rate causing designs that emulate the natural lines and patterns that you find in nature – see the little green piece in the first image).
The plants look a little sparse at this point, but more can be added at any time. A mid-ground tree needs to overlap anyway, so I don’t want to make that too dense. I’m also adding in the heads of thistles, Queen Anne’s lace and various other weeds. I’m still playing with the white stems from the knitted lace.


Challenges: These are all challenges that are exciting but at the same time continually playing with each other. I’ve added in a soft layer of fibre to soften the look and am not really sure how I’ll treat the heads – they’re a little more like a fantasy plant right now. And the two “propeller-like grass heads in the centre are bothering me. It’s easy to simply pluck these felted features right off the surface right now and place in different directions or places – what a versatile medium! I’m also working on the centre parting and don’t want it to look like a spray of stems – a denser, more natural look is what I’m aiming for. There is also the balance of colour throughout the work and leading the eye around. Still the journey continues.


Detailing: I am looking at colour within the overall composition. The “end-of-season” thistles have begun to yellow, providing that rich, illuminating glow. I have been looking forward to adding some of that into the work.
I have used pre-felts in much of my recent work, which I describe earlier. Sometimes I cut the shapes, but have also found that ripping the lightly felted fabric, emulates the sensibility and gesture of foliage. When the viewer looks at any scene – first hand, only portions stand out as truly recognizable shapes. We rely on colour, texture, line and basic shapes to fill in what we know from our own experience. Light illuminates and shadows provide depth and dimension. Perspective, both linear and atmospheric, add to that illusion.
I am looking forward to standing the whole piece up vertically. However, there are the more distant background plants to work on before I get that far. Once I do, I’ll have some space again in my studio. Not sure though how needle felting will work on a vertical plane. Hopefully I won’t break too many needles. Hope to get a few hours in today.


Another day layering and composing: Although these new photographs look similar to the previous ones, they represent a few more hours spent adding more of the cut foliage to the foreground, adding in more heads and working on the taller plants. I’m still not satisfied with the white stems but I can still reposition them and once I start on the overstitching with thread, I can tighten up their thickness. More shadowing might be needed for depth in the foreground as well.
I’ll get a better look at the overall composition once I stand the whole work upright. I’m almost afraid to do that as I’ve become familiar with it all on a horizontal plane. For now, it’s time to take a week away and see what the Caribbean has to offer my creative senses.


Several weeks have come and gone and the above work has transformed: more layering, changed composition in the tall plants and more depth to the entranceway.
My main goal was to get the work to a point where I could raise it to a vertical position where I could stand back to look at it as a viewer. Trying to needle felt in this position is difficult and “tacking” is about as much as I can achieve. Many poked fingers occur because of the awkward angle. The backboard is made from polystyrene and is light enough to flip up and lower again to the horizonal table top.


The work has been lifted to the vertical several times now as I work on the composition trying to intensify the depth of field and create visual transitioning from one side to the other using line and colour. The yellow of the lower left (thistle leaves) is reflected in the mid-foreground on the right side and then back to the left in the yellow flowers of the sowthistle plants. I have added more “heads” being aware that I have might have added too many. I love making them and then creating the 3-dimensional form using the felting needle to enhance the form, and once into the stitching will accentuate that even more.


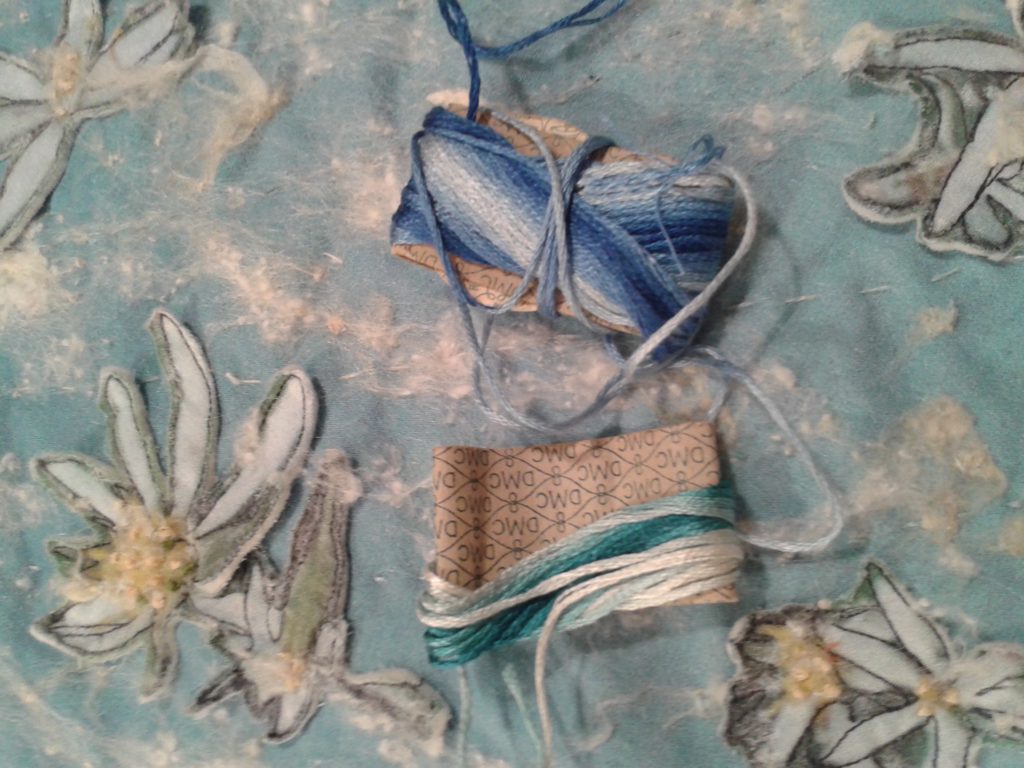
The last few days have now been focused on stitching. This process allows for more texturizing as well as securing surface details. There will be approximately a week of this therapeutic work ahead. As I complete an area, I needle felt to add depth and further secure any loose fibres that have been disturbed by handling. This is also a useful way to cover any stitches that I don’t want seen although the thread (just ordinary sewing thread) usually disappears into the fibres. Once stitched, the composition is pretty well set in place.
Work was completed at the end of March, exhibited in the Jordan Art Gallery, and sold a week later. Although sad to see it go, I’m also happy that it found a home with owners who appreciated the work. I had fun creating it.